Wishing
This tutorial is my own creation and any resemblance to any other tutorial,
is purely coincidental.
Please do not copy as use as your own work
If you wish to translate please email me
This tutorial is written using PSP. 9 but it can also be done in other versions
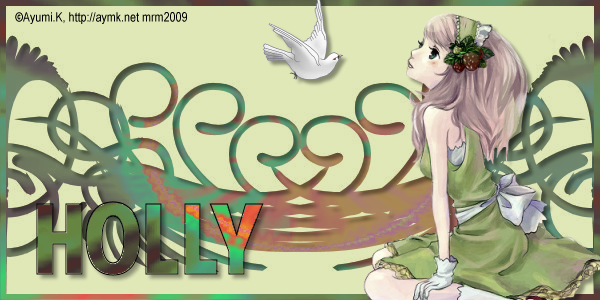
Tube of choice- I using the work of Ayumi.K you can get her work here http://aymk.net
My Mask Forum Mask A here http://pspbymarj.weebly.com/forum-masks.html
save and put into your masks in your PSP folder, or use a favourite one
Back Ground of choice I used one by Queina number 12 look under freebies http://psptutstagsbyq.blogspot.no
Drop Shadow I used was H & V 4 Opacity 50 Blur 5
Font of choice I used American Purpose
Lets begin this is a very easy tutorial
Remember to save often
Step 1.
Open up the background you are going to use,
open up a image, select all copy and paste your background into section,
select none, new raster layer,
fill with a light colour from your tube, apply your mask,
go to layers merge group.
Step 2
Copy and paste your tube, re-sized if necessary put it over to the right hand side,
give it a drop shadow,
I also put a dove on give this a drop shadow as well.
Shift D this is for your AV
Step 3
Active your background layer bring to top
Select all, Modify, Contact by 6 hit delete, select none.
Using a large font type your name, take your magic wand
and with it set to inside click inside each letter Select all Invert, duplicate your back ground layer move it above your text,
hit delete you can now delete the text layer, do a drop shadow.
Add your copyright
Step 4
You know what comes next, open up the image you put to one side
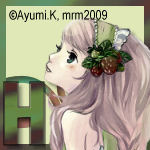
and crop 150 X 150, and repeat step 4
Hope you enjoyed my tut any questions
please do not hesitant to get in touch with me at [email protected]
Marj
Written on 9th August 2013
