Buddies
This tutorial is written using PSP 9 but it can also be done in other versions.
This tutorial is my own creation and any resemblence to any other tutorial, is purely conicidental.
Please do not copy and use as your own work
What we will need for this tutorial:-
~~~~~~~~~
Paint Shop Pro (PSP) any version mine was done in PSP9
Tube of choice- I using the work of Pinup Toons I purchased the tubes when Pinup Toons was with CILM
Please do not use unless you have a license this can be now purchased at CDO site
Here http://www.cdoestore.com/
Filter Xero Frititllary
Filter Kiwi's Olefiter Zig Zag
Colours used dark 78a3db light cdddf2 gradient Radial Angle 0 Repeats 0 invert unchecked
Font CaslonN0540Swad
Remember to save often
~~~~~~~~~
Lets gets started
~~~~~~~~~
Step 1
Open a new image 600 x 250 flood fill with your dark colour from your tube,
or patten see my tag, new raster layer flood fill with a dark colour.
Select modify by 10 hit delete select none, merge down
~~~~~~~~~
Step 2
Add new raster layer and fill with your gradient
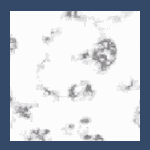
Appy Kiwi's Zig Zag
Shot 1
~~~~~~~~~
Step 3
New raster layer fill with dark colour select all Modify by 10 hit delete select none, add a drop shadow
~~~~~~~~~
Step 4
Copy and paste your tube, drop shadow, I used H-V 3 Opacity 50 blur 5, move to the left hand side or place
which ever looks best for your tube,
~~~~~~~~~
Step 5
Add your name and your copyright licence, add a saying that will look right with your tube or use the saying I did
~~~~~~~~~
Step 6
Now comes the fun part
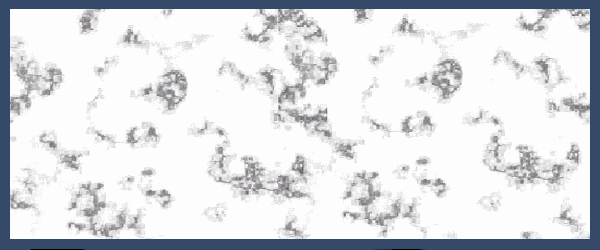
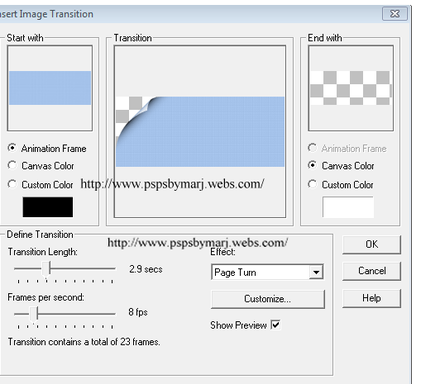
Make your bottom layer active, copy and take over to Animation Shop Effects Insert Image Transition this will give you 24 frames
Shot 2
Step 3
New raster layer fill with dark colour select all Modify by 10 hit delete select none, add a drop shadow
~~~~~~~~~
Step 4
Copy and paste your tube, drop shadow, I used H-V 3 Opacity 50 blur 5, move to the left hand side or place
which ever looks best for your tube,
~~~~~~~~~
Step 5
Add your name and your copyright licence, add a saying that will look right with your tube or use the saying I did
~~~~~~~~~
Step 6
Now comes the fun part
Make your bottom layer active, copy and take over to Animation Shop Effects Insert Image Transition this will give you 24 frames
Shot 2
~~~~~~~~~
Step 7
Back to PSP hide your bottom layer copy merged, and take back over to Animation Shop duplicate this to 24 frames
~~~~~~~~~
Step 8
Edit Select all propagate Paste back to the 24 frames you made, earlier Edit Select all propagate Paste,
and paste in to the tube layer I deleted the first two layers as it did not look right but I leave this up to you.
~~~~~~~~~
Step 9
For your AV
I resized by 80% and then cropped the part I wanted to use, and repeat steps 6 to 8
Hope you enjoyed my tut
~~~~~~~~~
Marj
Would love to see your results
Written by Marj Jan 2011
