BellaMermaid
This tutorial is my own creation and any resemblance to any other tutorial, is purely coincidental.
Please do not copy as use as your own work
This tutorial is written using PSP 9 but it can also be done in other versions
Animation Shop
This does not have any outside filters
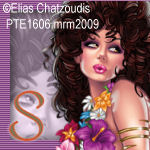
Tube of choice a close up and normal tube I used Elias Chatzoudis
here http://psptubesemporium.com/index.php?p=home
Drop Shadow I used was H & V 2 Opacity 40 Blur 10
Font of choice I used Carmine Tango
My Mask or one of your own
If you use mine click on mask, save to computer and put in your maks folder in PSP
Remember to save often
Please do not copy as use as your own work
This tutorial is written using PSP 9 but it can also be done in other versions
Animation Shop
This does not have any outside filters
Tube of choice a close up and normal tube I used Elias Chatzoudis
here http://psptubesemporium.com/index.php?p=home
Drop Shadow I used was H & V 2 Opacity 40 Blur 10
Font of choice I used Carmine Tango
My Mask or one of your own
If you use mine click on mask, save to computer and put in your maks folder in PSP
Remember to save often
Step 1
Open image 600 X 400 flood fill with a light colour from your tube, name this background,
add a new raster layer, and fill with a medium colour from your tube,
apply your mask, merge group, name this layer waves
Step 2
Working on the Waves layer take your Selection tool and make a selection,
as shot 1 hit delete KEEP selected, invert, give this frame a drop shadow of choice,
I used H & V 2 Opacity 40 Blur 10, and paste your close up, and hit delete, lower this to 50 opacity
or what ever looks right for your tube. Name this tube 1
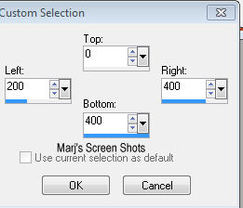
Shot 1
Step 2
Do shift D twice these are for your AV and Forum set, close them for now
Step 3
New raster layer fill with a dark colour from your tube, Select all, modify, contact by 12 pixels,
hit delete, deselect., you want a wide frame as she wants to look as if she is resting on it,
apply Effects Blinds Width 2 Opacity 59, Horizontal and light from left ticked,
and a light colour from your tube apply drop shadow I used the same drop shadow as above,
then applied it again but do -2 on H and V name this frame
Step 4
Copy and past your tube, resize if it needs it,
Adjust and Sharpen, drop shadow H & V 2 Opacity 40 Blur 10, shadow on new layer ticked,
merge down, name this tube 2
Add your copyright and name, and a saying if you want to
Step 5
Close all layers apart from your background layer, and tube 1 take this over to AS
and paste as new animation, apply, Insert image effect, shot 2,
this will give you five frames,
Shot 2
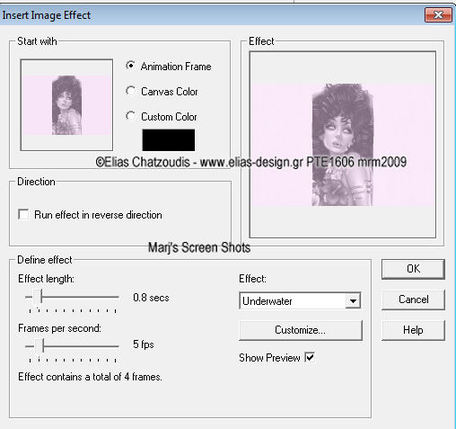
go to frame 1 and delete it,
back to PSP close background layer and tube 1 and open the rest, and copy merge and take over to AS,
make four frames, now go to the first animation you made and edit select all propgate paste,
do the same with the frame layer and carful add to your wave layer, there done
back to PSP close background layer and tube 1 and open the rest, and copy merge and take over to AS,
make four frames, now go to the first animation you made and edit select all propgate paste,
do the same with the frame layer and carful add to your wave layer, there done
Step 6
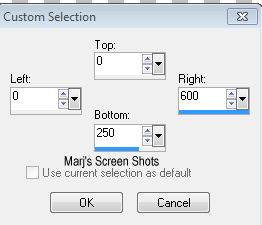
Open one of the images you closed earlier move anything around you wish to,
and do a selection tool shot 3 image crop to section,
add a new raster layer and do the same as the frame layer on your main tag move this down below Tube 2
apply the drop shadow as before, and repeat step 5
Shot 3
Open one of the images you closed earlier move anything around you wish to,
and do a selection tool shot 3 image crop to section,
add a new raster layer and do the same as the frame layer on your main tag move this down below Tube 2
apply the drop shadow as before, and repeat step 5
Shot 3
Step 7
Open up your other image and crop it to 150 x 150 this is your AV,
again move your tube around, I did not animate the AV as this did not look right
Please remember to add copyright if you use any part of your tube
Hope you enjoyed my tut
Marj
Written on 19th April 2012
Open up your other image and crop it to 150 x 150 this is your AV,
again move your tube around, I did not animate the AV as this did not look right
Please remember to add copyright if you use any part of your tube
Hope you enjoyed my tut
Marj
Written on 19th April 2012
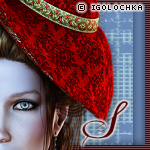
Suz made this great set using the lovely work of Anastasiya Igolkina
