Sun Burst
This tutorial is my own creation and any resemblance to any other tutorial, is purely coincidental.
Please do not copy and use as your own work
This tutorial is written using PSP 9 but it can also be done in other versions
Animation Shop I will refer to this as AS
Filter MuRa's Meister Copies
Filter Zero Porcelain
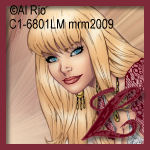
Tube of choice- I using the work of ALRio
Please do not use unless you have a license, I brought mine when he was with CILM
Drop Shadow I used was H & V 5 Opacity 50 Blur 5
Font of choice I used Angel Tears
Remember to save often
Lets begin
Step 1
Open a new image 600 x250 copy and paste tube of choice
Apply Meister Copies Wall Paper rotate no 25, you want it to cover your image,
if it does not duplicate, Image Mirror, merge down,
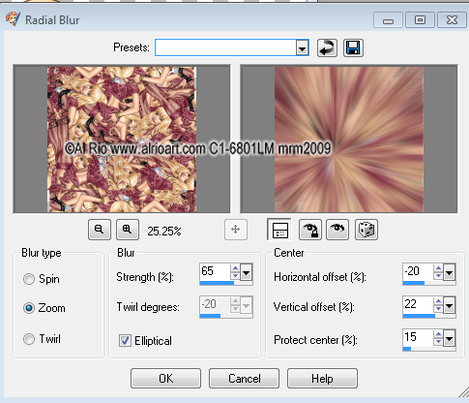
Adjust Radial Blur, shot 1, Effects Enhance Edges, name this background
Step 2
Copy and paste your tube resize if it needs it, move to the right hand side,
and crop your image to get rid of the over hang,
apply Zero Porcelain with Blue at zero,
still working on your tube give it your favourite drop shadow with shadow on new layer ticked and white,
this gives the tube a glow
Step 3
New raster layer fill with a colour from your tube, I used #7e2a39,
Select All Modify and contact by 6 hot delete and deselect, give this a drop shadow.
Add your copyright and name, Shift D, this is for you AV
Step 4
Take your Section tool and make a small Circle in the middle of the back ground,
see my tag for ref:
promote to Section, new raster layer fill with a light colour deselect,
lower the opacity to 50 ,
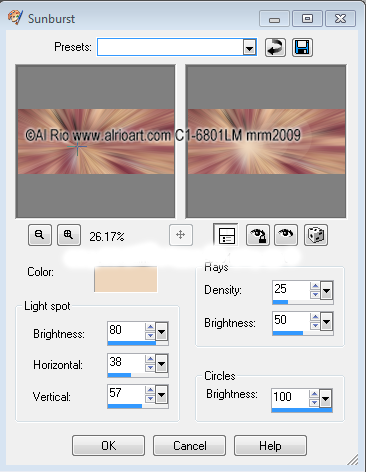
close these to layers off and go back to your background layer,
and apply Effects Illumination Sunburst Shot 2.
Copy and paste your tube resize if it needs it, move to the right hand side,
and crop your image to get rid of the over hang,
apply Zero Porcelain with Blue at zero,
still working on your tube give it your favourite drop shadow with shadow on new layer ticked and white,
this gives the tube a glow
Step 3
New raster layer fill with a colour from your tube, I used #7e2a39,
Select All Modify and contact by 6 hot delete and deselect, give this a drop shadow.
Add your copyright and name, Shift D, this is for you AV
Step 4
Take your Section tool and make a small Circle in the middle of the back ground,
see my tag for ref:
promote to Section, new raster layer fill with a light colour deselect,
lower the opacity to 50 ,
close these to layers off and go back to your background layer,
and apply Effects Illumination Sunburst Shot 2.
Step 6
Open up AS copy merge and paste as a new image, back to PSP.
and undo the sun burst, redo sun burst but change Brightness to 82 Horizontal to 40 and Vertical to 59,
copy merge and take to AS and paste after current frame,
back to PSP undo sun burst and redo, Brightness 84 Horizontal 42 and Vertical 6,
copy merge and take to AS paste after current frame.
Edit Select all and frame properties to 50. when happy save as GIF
Step 7
Back to PSP open up the image you set to one side and crop it to 150 x 150
Please remember to add your copyright as we used the tube for the background
Hope you enjoyed my tutorial and questions please email me at [email protected]
Marj
Written 30th April 2013
