Square's
This tutorial is written using PSP 9 but it can also be done in other versions.
This tutorial is my own creation and any resemblence to any other tutorial, is purely conicide.
Please do not use it as your own work
What we will need for this tutorial:-
Paint Shop Pro (PSP) any version mine was done in PSP9
Tube of choice- I using the great work of Jay Trembly, please do not use his work unless you have a license.
I brought mine when he was with PSP here http://www.mypsptubes.com
You can now get his tubes here http://www.scrapsandthecity.com/
Filter Eye Candy 4000 Gradient glow
Filter Mura Seamless
Filter AAA Frames Foto Frame
Font Chaucer
Remember to save often
Lets get started
~~~~~~~~
Step 1
Open a new image 600 x 250 flood fill with a light colour from your tube,
Go to Effect's Blinds with the following settings H and V ticked colour Grey W 5 Opacity 100
~~~~~~~~
Step 2
Mura Seamless Tile frame Shot 1
This tutorial is my own creation and any resemblence to any other tutorial, is purely conicide.
Please do not use it as your own work
What we will need for this tutorial:-
Paint Shop Pro (PSP) any version mine was done in PSP9
Tube of choice- I using the great work of Jay Trembly, please do not use his work unless you have a license.
I brought mine when he was with PSP here http://www.mypsptubes.com
You can now get his tubes here http://www.scrapsandthecity.com/
Filter Eye Candy 4000 Gradient glow
Filter Mura Seamless
Filter AAA Frames Foto Frame
Font Chaucer
Remember to save often
Lets get started
~~~~~~~~
Step 1
Open a new image 600 x 250 flood fill with a light colour from your tube,
Go to Effect's Blinds with the following settings H and V ticked colour Grey W 5 Opacity 100
~~~~~~~~
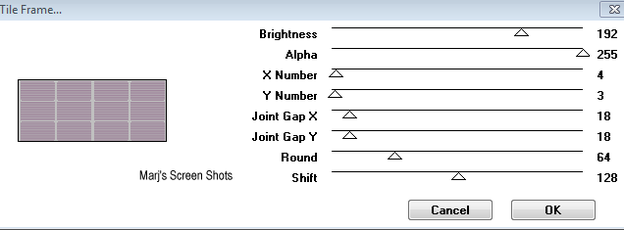
Step 2
Mura Seamless Tile frame Shot 1
~~~~~~~~
Step 3
Duplicate this and on the duplicate layer use your preset tool, keeping shift down chose the squares you want to put images of your tube in convert to raster layer. (Tip I closed off my two bottom layers so I could see the squares )
~~~~~~~~
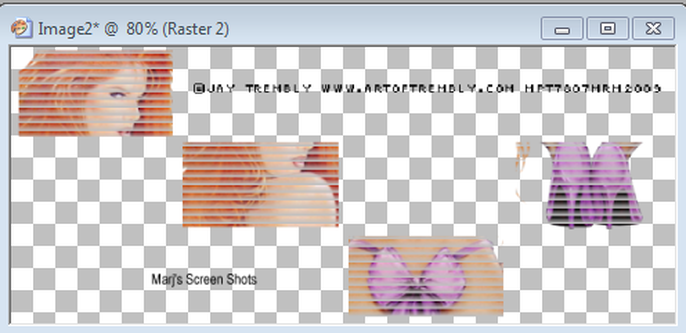
Step 4
Click in the square's with your magic wand, and paste your tube, or parts of it, in the square's, Invert on the square layer and then highlight your tube layer and delete, you should have some thing like this
Shot 2
Step 3
Duplicate this and on the duplicate layer use your preset tool, keeping shift down chose the squares you want to put images of your tube in convert to raster layer. (Tip I closed off my two bottom layers so I could see the squares )
~~~~~~~~
Step 4
Click in the square's with your magic wand, and paste your tube, or parts of it, in the square's, Invert on the square layer and then highlight your tube layer and delete, you should have some thing like this
Shot 2
Still on this layer add your blinds effect again but this time Opacity down to 50
~~~~~~~~
Step 5
Unhide your two other layers add your tube,and merge visible,
~~~~~~~~
Step 6
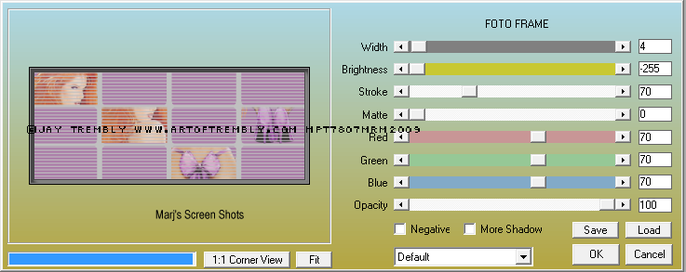
Next go to AAA Frame, and use your own favourite setting or use the ones I used
Shot 3
~~~~~~~~
Step 5
Unhide your two other layers add your tube,and merge visible,
~~~~~~~~
Step 6
Next go to AAA Frame, and use your own favourite setting or use the ones I used
Shot 3
~~~~~~~~
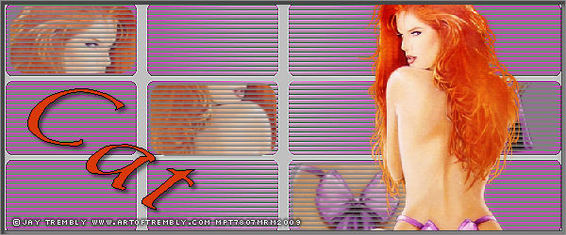
Step 7
Add your copyright and name I used a Gradient glow to these
~~~~~~~~
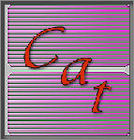
Step 8
AV
For a Avatar, shift D and then crop 150 x 150 the piece of tag you wish to use,
If you use a part of tube like I have for my second one please remember to add copyright
~~~~~~~~
Hope you enjoyed my tut
Marj
Step 7
Add your copyright and name I used a Gradient glow to these
~~~~~~~~
Step 8
AV
For a Avatar, shift D and then crop 150 x 150 the piece of tag you wish to use,
If you use a part of tube like I have for my second one please remember to add copyright
~~~~~~~~
Hope you enjoyed my tut
Marj
Written by Marj on 13 November 2010
