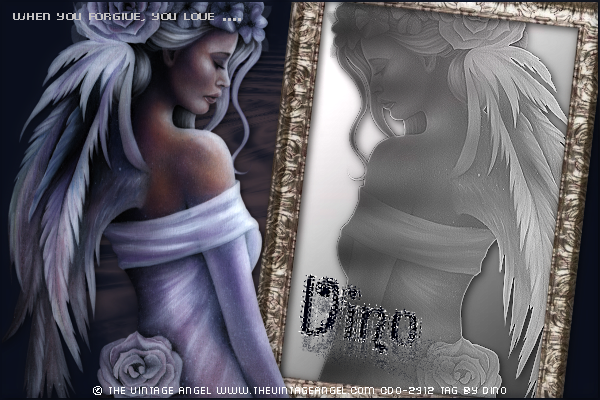
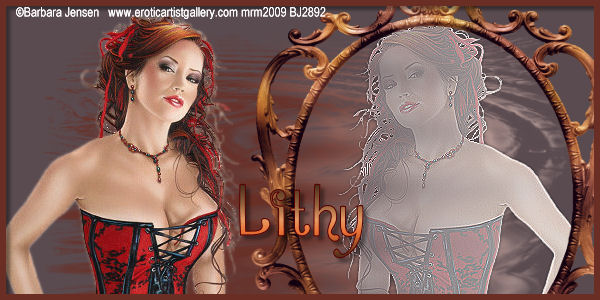
Mirror
This tutorial is my own creation and any resemblance to any other tutorial, is purely coincidental.
Please do not copy as use as your own work, if you wish to translate it please email me
It’s assumed that you have working knowledge on how to use filters/plugins.
Please look at my TOU for more info.
This tutorial is written using PSP 9 but it can also be done in other versions
Animation Shop I will refer to this as AS
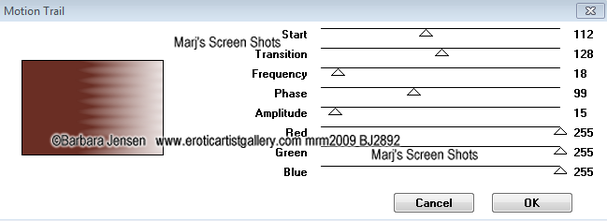
Filter VM Toolbox Motion Trail
A Frame of choice I used one by DBV which I coloured to match my image
Tube of choice- I using the work of Barbara Jensen you can get her work from her site here http://www.barbarajensentubes.com/
Mask by Candy Treats number 5B or a favourite one but the one by Candy is right for this tutorial you can get her mask here http://candystreatsct.blogspot.co.uk/search/label/Masks
Drop Shadow I used was H & V 4 Opacity 50 Blur 5
Font of choice I used Zamrud & Khatulistiwa
Lets begin
Remember to save often
Step 1.
Open a image 600 x 400 fill with a colour from your tube, I used #6a2e24, name this background
Step 2
New raster layer fill with another colour from your tube, this time I used #5a4b50, name this Mask on this layer apply your mask
Step 3
Copy and paste your tube resize if necessary, move it to the right side,
duplicate and mirror, on the original apply VM Toolbox Motion Trail,
shot 1 Effects Edge Enhance, open up the frame you are going to use, copy and paste as new layer move it over right hand side resize if it needs it,
take your magic wand an click in side of frame, Select all Expand by 2, Invert go down to your Tube and hit delete, select none, give your frame a drop shadow
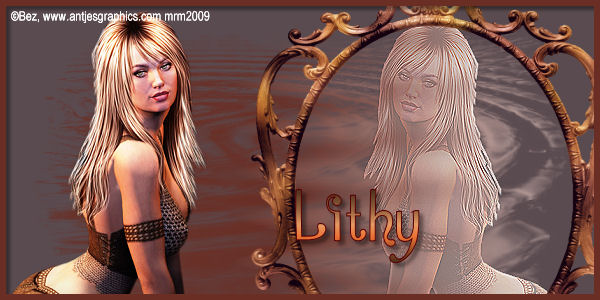
Shot 1
Please do not copy as use as your own work, if you wish to translate it please email me
It’s assumed that you have working knowledge on how to use filters/plugins.
Please look at my TOU for more info.
This tutorial is written using PSP 9 but it can also be done in other versions
Animation Shop I will refer to this as AS
Filter VM Toolbox Motion Trail
A Frame of choice I used one by DBV which I coloured to match my image
Tube of choice- I using the work of Barbara Jensen you can get her work from her site here http://www.barbarajensentubes.com/
Mask by Candy Treats number 5B or a favourite one but the one by Candy is right for this tutorial you can get her mask here http://candystreatsct.blogspot.co.uk/search/label/Masks
Drop Shadow I used was H & V 4 Opacity 50 Blur 5
Font of choice I used Zamrud & Khatulistiwa
Lets begin
Remember to save often
Step 1.
Open a image 600 x 400 fill with a colour from your tube, I used #6a2e24, name this background
Step 2
New raster layer fill with another colour from your tube, this time I used #5a4b50, name this Mask on this layer apply your mask
Step 3
Copy and paste your tube resize if necessary, move it to the right side,
duplicate and mirror, on the original apply VM Toolbox Motion Trail,
shot 1 Effects Edge Enhance, open up the frame you are going to use, copy and paste as new layer move it over right hand side resize if it needs it,
take your magic wand an click in side of frame, Select all Expand by 2, Invert go down to your Tube and hit delete, select none, give your frame a drop shadow
Shot 1
Step 4
New raster layer, fill with the same colour as your background,
Select all Modify by 6 hit delete select none, give this the same drop shadow as your frame
Do Shift and D twice this is for your forum tag and AV and put to one side for now
Add your copyright and name, give your name a drop shadow.
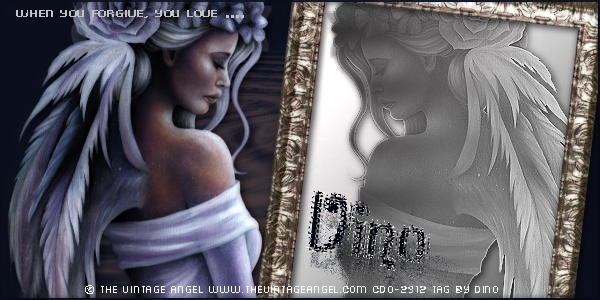
Step 7
Open up one of the images you put to one side, and crop 600 x 300 or 600 x 250, repeat step 4, Add your copyright and name, give your name a drop shadow.
Step 8
Open up the other image, and crop 150 x 150 any piece of the tag you want to use,
repeat step 4 again.
Add your copyright and name, give your name a drop shadow.
Please remember if you use any part of your tube to add your copyright
Hope you enjoy my tutorial, and problems please feel free to email me at [email protected] please remember this is just a guide
Marj
Written 29th July 2013
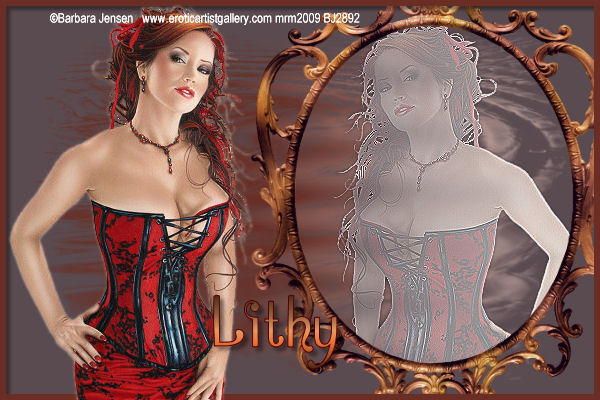
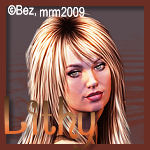
Here is another example
I used the gorgeous art of Bez Boardman. You have to have permission to use her art.
New raster layer, fill with the same colour as your background,
Select all Modify by 6 hit delete select none, give this the same drop shadow as your frame
Do Shift and D twice this is for your forum tag and AV and put to one side for now
Add your copyright and name, give your name a drop shadow.
Step 7
Open up one of the images you put to one side, and crop 600 x 300 or 600 x 250, repeat step 4, Add your copyright and name, give your name a drop shadow.
Step 8
Open up the other image, and crop 150 x 150 any piece of the tag you want to use,
repeat step 4 again.
Add your copyright and name, give your name a drop shadow.
Please remember if you use any part of your tube to add your copyright
Hope you enjoy my tutorial, and problems please feel free to email me at [email protected] please remember this is just a guide
Marj
Written 29th July 2013
Here is another example
I used the gorgeous art of Bez Boardman. You have to have permission to use her art.
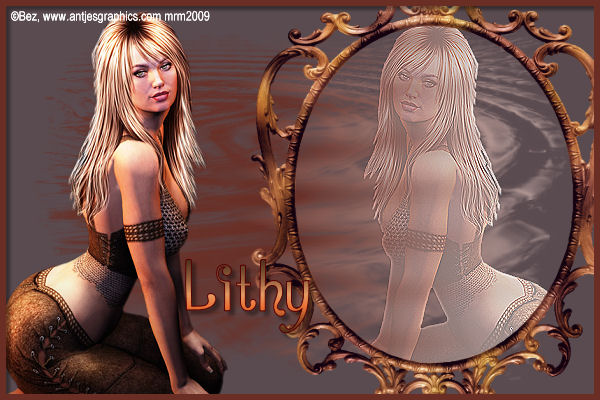
Thanks to Dino for using my tutorial to make this lovely set