Lady Blossom
This tutorial is my own creation and any resemblance to any other tutorial, is purely coincidental.
Please do not copy as use as your own work
This tutorial is written using PSP 9 but it can also be done in other versions
Animation Shop I will refer to this as AS
Filter DBS Flux Bright Noise
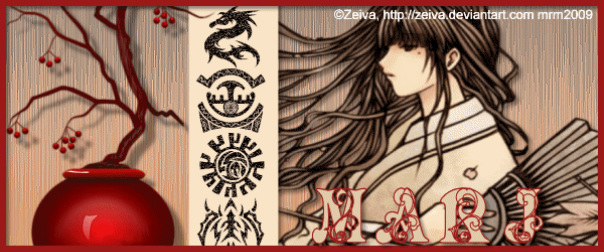
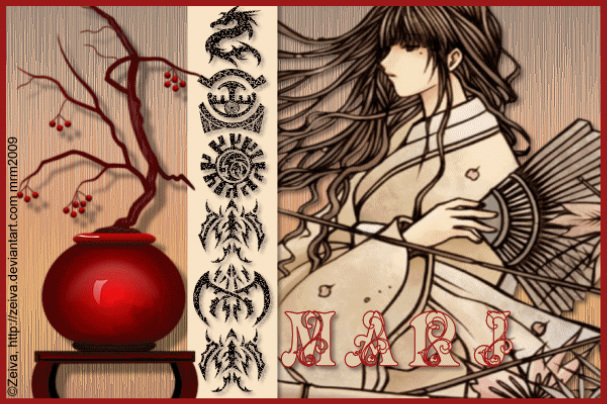
Tube of choice- I using the great work of Zeiva you can her or his work here ©Zeiva, http://zeiva.deviantart.com
A Emblishment of choice I used a vase that I had
Drop Shadow I used was H & V 3 Opacity 50 Blur 5
Font of choice I used BabyPirate and Tattoo
Lets begin
Remember to save often
Step 1.
Open a image 600 x 400 fill with a colour from your tube, name this background
Step 2.
New raster layer fill with a gradient made from your back ground colour and a darker one Liner,
Angle and Repeats 0, name this Background 2,
working on this layer apply Effects Textured Effects Fur Blur 43 Density 40 length 50 Transparency 100,
Effect Edge Enhance, I lowered the Opacity down to 50, but see what looks best for your colours
Step 3
Copy and paste your tube resize if necessary, give it a drop shadow,
and move it to the right hand side, give it a drop shadow,
add your emblishment, and put it on the left hand side use same drop shadow.
Step 4
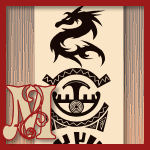
Get your preset shape and find rectangle and make a line from top top bottom see my tag for ref:,
give this the same drop shadow, and then repeat but do -3 on H & V
open up your Tattoo font click on directions to go downwards,
and write a few letters, they do not have to make sense see my tag.
Name this Tattoo duplicate twice rename them tattoo 2, and 3,
on the tattoo layer 1 Adjust Add Noise Uniform 100, on tattoo 2 Uniform 80
and on tattoo 3 Uniform 60 close 2 and 3 off for now
Add your copyright and name, do Shift and D twice these are for your forum and AV and put to one side for now
Step 5
New raster layer and fill with a the dark colour from your tube,
Select all Modify by 6 hit Delete
select none, give this border a drop shadow
Step 6
Open up Animation Shop, Active your Tattoo layer 1 and copy merge and take over AS, paste as a new animation,
back to PSP, close tattoo 1, open up tattoo 2 copy merge, take over to AS, and paste after current frame
back to PSP close 2 and open up 3 copy and merge and take over to AS and paste after current frame,
edit select all, frame properties, I left the speed at 10 but again leave it up to you, save as a gif file
Step 7
Back to PSP open up one of the images you put to one side move anything on your tag you want to keep
and take your crop tool and do 600 x 250 repeat steps 5 and 6,
For your AV crop the image you want to 150 X 150
Add a border as step 5
PLEASE remember if you use any part of your tag add your copyright, I just use the tattoo letters
Hope you enjoy my tutorial, and problems please feel free to email me at [email protected]
Marj
Written 9th March 2013
